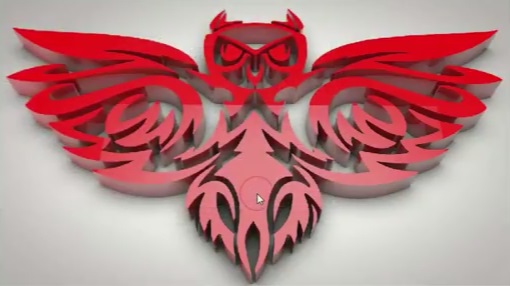
In this video tutorial we will see how to combine two Adobe Illustrator cc 2017 and Cinema 4D R18 software to create a very professional 3d design. It is a matter of importing a vector file drawn with Illustrator into Cinema 4D to give it a thickness and render with materials and lights.
Related Posts
23
Oct2016

Model a Realistic Candy in Cinema 4D
In this video tutorial we will see how to model a realistic 3d candy complete with its wrapping using the Maxon Cinema 4D modeling program. A very detailed and easy…
14
Feb2014

Create Wooden Text Structure in Cinema 4D
This video tutorial shows you how to create 3D wooden text with Cinema 4D. We will see how it is possible to use multiple textures on a single extruded NURBS…
06
Dec2013
Create a Vintage, Camping Lantern Icon in Illustrator
Nei passi del tutorial che andremo a seguire si impara come creare una dettagliata vecchia illustrazione di una lampada in Adobe Illustrator. Per cominciare potrete imparare come impostare una semplice…
09
Sep2016

Create a Professional Label Design in CorelDRAW
In this video tutorial we will see a lesson that shows how to create the graphics for a professional vector label using the tools made available to CorelDRAW. An exercise…
30
Jul2013
Model and Rig Dynamic Fan in Cinema 4D
In this video lesson we will see how to dynamically model and animate a fan with Cinema 4D. A ‘fresh’ tutorial to understand some basics about animation with Cinema 4D.
11
Jan2017

Modelling a Helix Headphone Cable in Cinema 4D
In this video tutorial we will see how in 15 minutes it is possible to create a flexibie cable for 3D headphones using the Maxon Cinema 4D polygonal modeling program.…