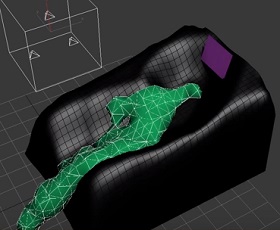
In this tutorial, we will see how the displacer could be controlled by fields in Cinema 4D. We will also work with random splines and widths to create tubes. Elements that grow randomly to create an animation with a captivating effect. The exercise can also be used to animate other objects and can also be followed by intermediate users who want to try to make small animations.
Related Posts
Create a Realistic Waterfall in 3ds Max
This video tutorial shows how to make a realistic waterfall in 3ds Max. We will use the tools of the program. We will see how to determine the path of…
Hexagonal Grid Floor in Cinema 4D and After Effects
This video tutorial shows how to model a plane made from a hexagonal grid in Cinema 4D. We will see how to animate it, and perfect it with a composition…
Modeling a realistic Cookie Jar in Cinema 4D
In this video tutorial we will see how to model a glass jar to hold cookies in Maxon Cinema 4D. Using some tags to simulate the fabrics, we will cover…
Orbit Camera Preset in Cinema 4D – Tutorial
L’impostazione Orbit preset della telecamera permette di creare rapidamente e facilmente alcune belle e fluide animazioni intorno agli oggetti all’interno di Cinema 4D. Un esercizio che può far risparmiare molto…
Modeling a Cesca Chair 3D in Autodesk 3ds Max
This video tutorial shows how to model a famous design object with 3ds Max. The Cesca chair is a design chair created in 1928 by the Hungarian-American architect and designer…
Texturing and Rendering Anime Characters in Blender
This video tutorial shows you how to tackle 3D anime character style texturing and rendering in Blender. A good lesson for creating fantastic characters.


