Nel tutorial che andremo a vedere potrete utilizzare lo strumento pennello tracciato chiuso in Adobe Illustrator per creare piccole porzioni di disegni che, copiati, incollati e ruotati andranno a formare cornici decorate. Combinando elementi con svolazzi, forme di base e elementi floreali avrete cornici pronte per tutte le vostre esigenze di progettazione.
Related Posts
3D Water Ocean in 3ds Max
In the Autodesk 3ds Max tutorial that we are going to visit, a 3D water surface will be created that could be a lake, a sea or an ocean. A…
Jessica Rabbit Free Drawing Vector download
Jessica Rabbit is Roger’s human Toon wife in Who Framed Roger Rabbit. Jessica is one of the most famous sex symbols on the animated screen. Inspirations include actresses Veronica Lake,…
Make Skateboarding Wallpaper in Photoshop
IIn the tutorial we are going to see in Adobe Photoshop a series of techniques and effects to create a beautiful background in Skateboard, in the composition will be mixed…
Modeling a Hammer for Beginners in Maya
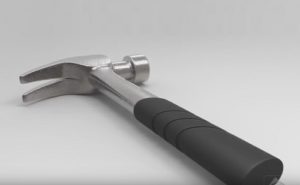
This is a basic Maya modeling tutorial for beginners, we’ll see how to create a simple hammer. The exercise assumes that the user already knows the interface of Maya. Only…
Google Logo Free Vector download
On this page you will find another free graphic element. This is the Google Logo Flat Design that you can use as a logo or other in your graphics projects.…
Draw a Vector Slice Pizza Illustration in Adobe Illustrator
In this video tutorial we will see how to draw a vector pizza slice in Adobe Illustrator. A very interesting exercise for a nice simple and clear vector illustration. A…


