Nel tutorial che andremo a vedere imparerete come integrare i vari tipi di sfumature e stili in un disegno icona in CorelDRAW. Inoltre, potremo prendere confidenza con lo strumento gradiente interattivo, che permette agli utenti di impostare manualmente l’angolo, la distribuzione e il posizionamento di una sfumatura all’interno di un oggetto.
Related Posts
19
Nov2014
Create Isometric Pixel Art Vehicle in Photoshop – Tutorial
Nel tutorial che vedremo impareremo a fare un auto isometrica in stile pixel-art. Verrà creata una berlina piuttosto generica. Non sarà troppo appariscente, il che è l’ideale per ricusarla più…
11
Oct2022

Stylized Sea Turtle Free Vector download
On this page you will find another free graphic element. This is the Stylized Sea Turtle that you can use as a logo or other in your graphics projects. The…
09
Oct2022
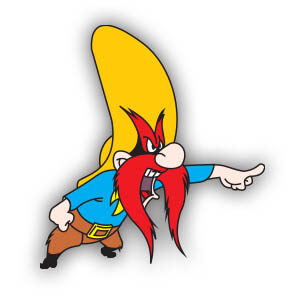
Yosemite Sam Cartoon Character Free Vector download
On this page you can find another classic cartoon character, the old Yosemite Sam. One of the famous Warner Bros characters in vector format that you can download and use…
25
Sep2013
Sculpt a Head using Zbrush 4 R2 – Tutorial
Un bel video-tutorial dalla rete che mostra come affrontare la modellazione di una testa in Zbrush 4 R2 utilizzando le maschere di selezione per creare i rilievi del viso e…
02
Apr2015

Create an Art Robot Design in CorelDRAW
Nel tutorial che andremo a vedere viene mostrato come creare una composizione in stile Liberty di un robot. Impareremo a creare forme composte in CorelDRAW con la finestra mobile Shaping,…
18
Oct2022
Google Meet Icon Free Vector download
On this page you will find another free graphic element. This is a Vector Google Meet Icon that you can use for your graphic projects. The compressed file is in…