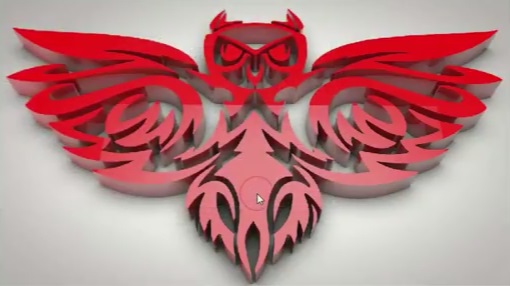
In this video tutorial we will see how to combine two Adobe Illustrator cc 2017 and Cinema 4D R18 software to create a very professional 3d design. It is a matter of importing a vector file drawn with Illustrator into Cinema 4D to give it a thickness and render with materials and lights.
Related Posts
Create a Beautiful Windmill in Illustrator
Il tutorial che vedremo è un omaggio a quei vecchi mulini a vento che sono stati utilizzati per secoli e anche se la loro costruzione si è evoluta l’idea rimane…
Isometric Low-Poly World in Cinema 4D – Tutorial
This video tutorial explains how to create an isometric low-poly object surrounded by ‘flying’ whales within Cinema 4D. An interesting exercise for models that take up little memory due to…
Cute Ladybug Insect Free Vector download
On this page we present another vector drawing that can be freely downloaded and used for your graphic and design projects. These are two ladybugs on a vector leaf. The…
Create a Keyboard Button in Adobe Illustrator
In the tutorial that we will see, it is shown how to create a keyboard button. We’ll use basic shapes and pathfinder tools to create the buttons, and then color…
Create a Vector Vacuum Cleaner in Illustrator
An Illustrator tutorial to create a vector vacuum cleaner. In this lesson you can learn some excellent techniques for making vector illustrations, as well as the use of powerful Illustrator…
Flying Paper Simulation in Cinema 4D
This video tutorial shows how to create a flying paper simulation with Cinema 4D. We will use the Cloth Tags in a nice tutorial to move the 3D scenes.


